Do you feel stiff and tight all the time? Do you find it hard to get up and move around throughout the day? If that’s the case, you must begin performing stretching exercises. Not only will stretching help improve your flexibility, but it will also help reduce tension and stress in your body.
You know that you could use some stretching poses to feel better, but you may not know where to start. Don’t lose heart! We’re here to help you with an easy-to-follow, seven-day stretching challenge. You only need to complete this stretching exercise to increase your flexibility and lower stress levels. We’ll start with a brief introduction of the challenge, what exercises are included, and how things will proceed each day.
So, are you ready to get started? Great! Let’s begin.
7-day Stretching Challenge: Introduction
The only equipment you need for this stretching challenge is a timer. If you don’t have a timer, you can use the stopwatch on your phone. For each of the seven days, you’ll introduce one new stretch to your routine and do it for three minutes. Yes, that’s right — only three minutes! By the end of the week, you’ll be doing seven different stretches for three minutes each.
These are the poses included in this challenge:
- Seated Forward Fold
- Supine Twist
- Sphinx Pose
- Downward Dog
- Standing Forward Fold
- Bound Angle Pose
- Saddle Pose
Now, this may sound like a lot, but trust us — it’s doable. And we promise you’ll feel better by the end of the week. You can do this challenge at any time that works for you. However, we recommend doing it before you start your day, first thing in the morning. That way, you can get it out of the way and not worry about it later.
So, without further ado, here’s your seven-day stretch challenge:
Day One: Seated Forward Fold (paschimottanasana)
Begin by sitting comfortably and extending both legs in front of you. Slowly lean forward from your hips, keeping your back straight. Reach out for your toes or ankles, whatever feels comfortable, and try to touch your knees with your head. If you can’t reach your toes, that’s okay! Only advance as far as you can. Hold the stretch for three minutes.
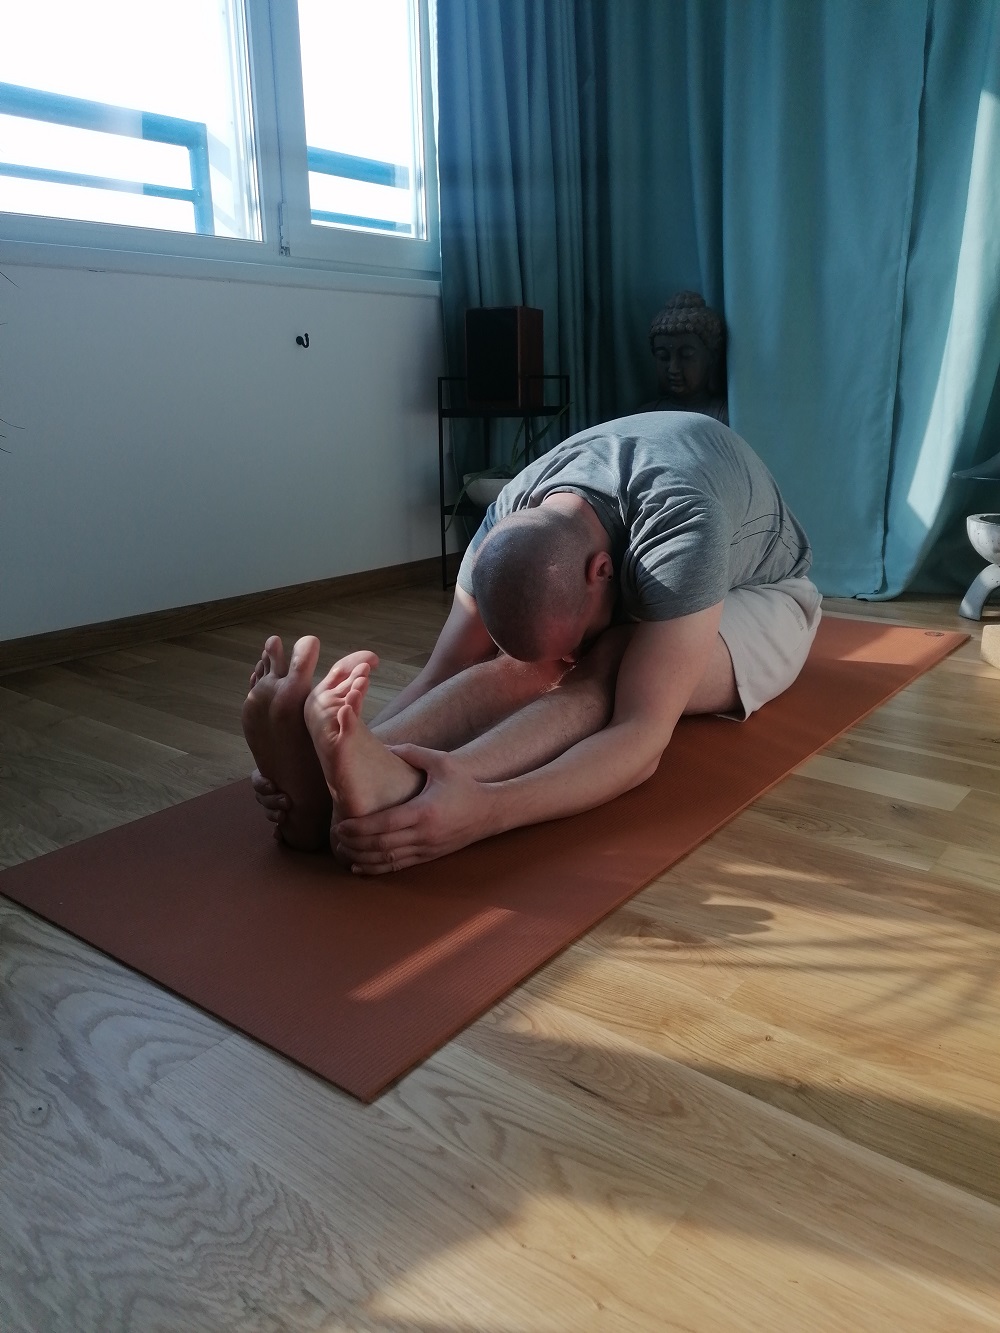
Seated forward fold
Day Two: Supine Twist
Lay backward with your legs out in front of you. Hugging your right leg close to your chest, bend it. Take a breath, and as you exhale, slowly let your right knee fall to the left side of your body, keeping your other leg straight. Keep both shoulders flat on the ground. You can place your right hand on the floor or your left thigh for support. Hold the pose for three minutes and then repeat on the other side.
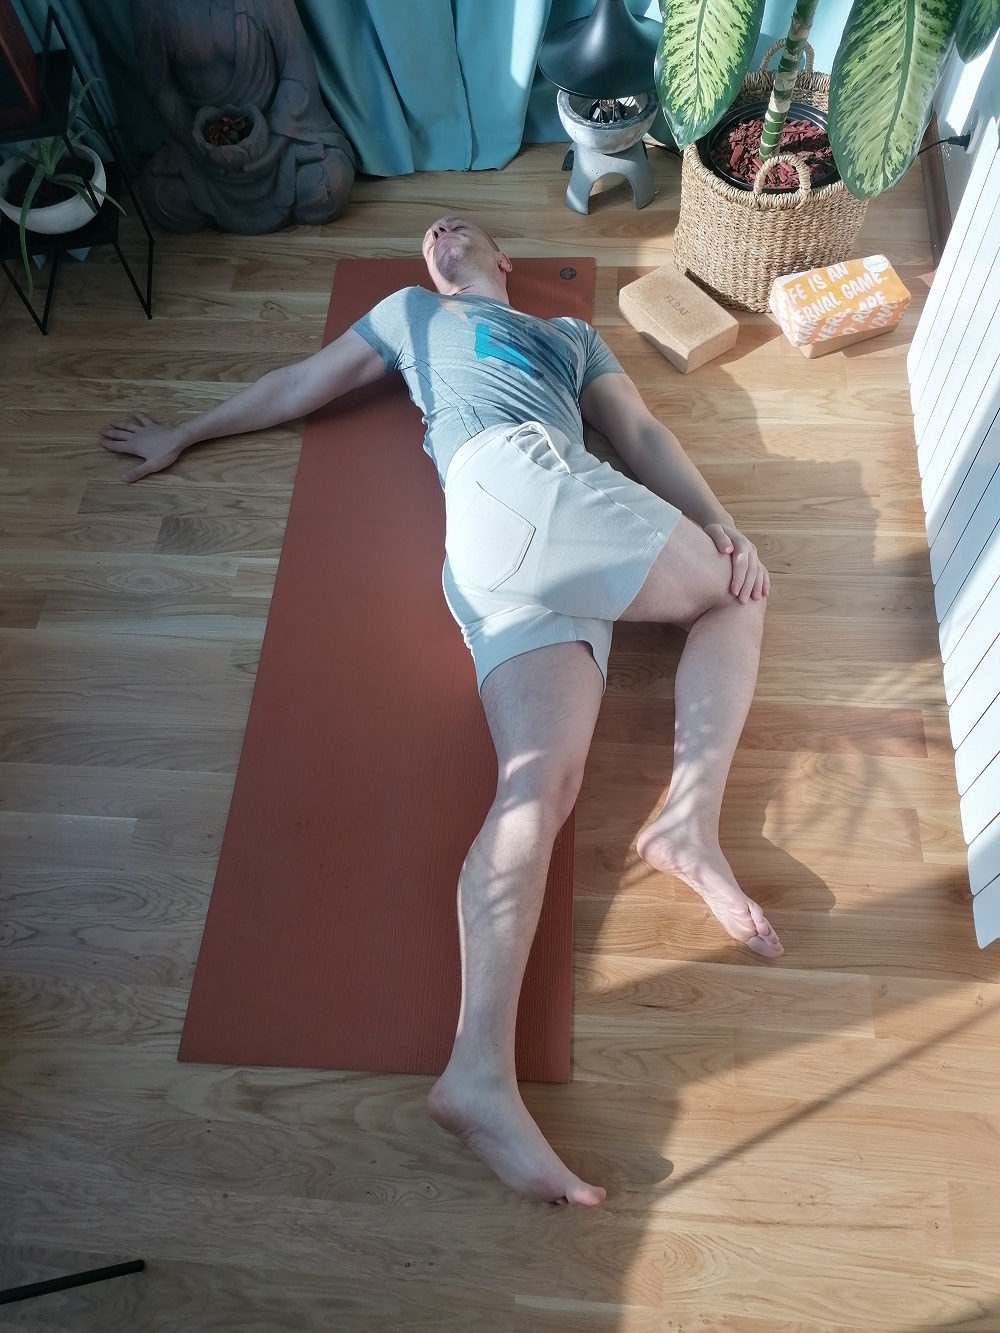
Supine twist
Day Three: Sphinx Pose
Start on the floor in a prone posture with your legs straight behind you and your palms flat on the ground next to you. Slowly lift your head and chest off the ground, keeping your lower back and pelvis pressed firmly into the floor. You should feel a gentle stretch in your lower back. Your elbows should be under your forearms, parallel to each other. Maintain the stretch for three minutes.
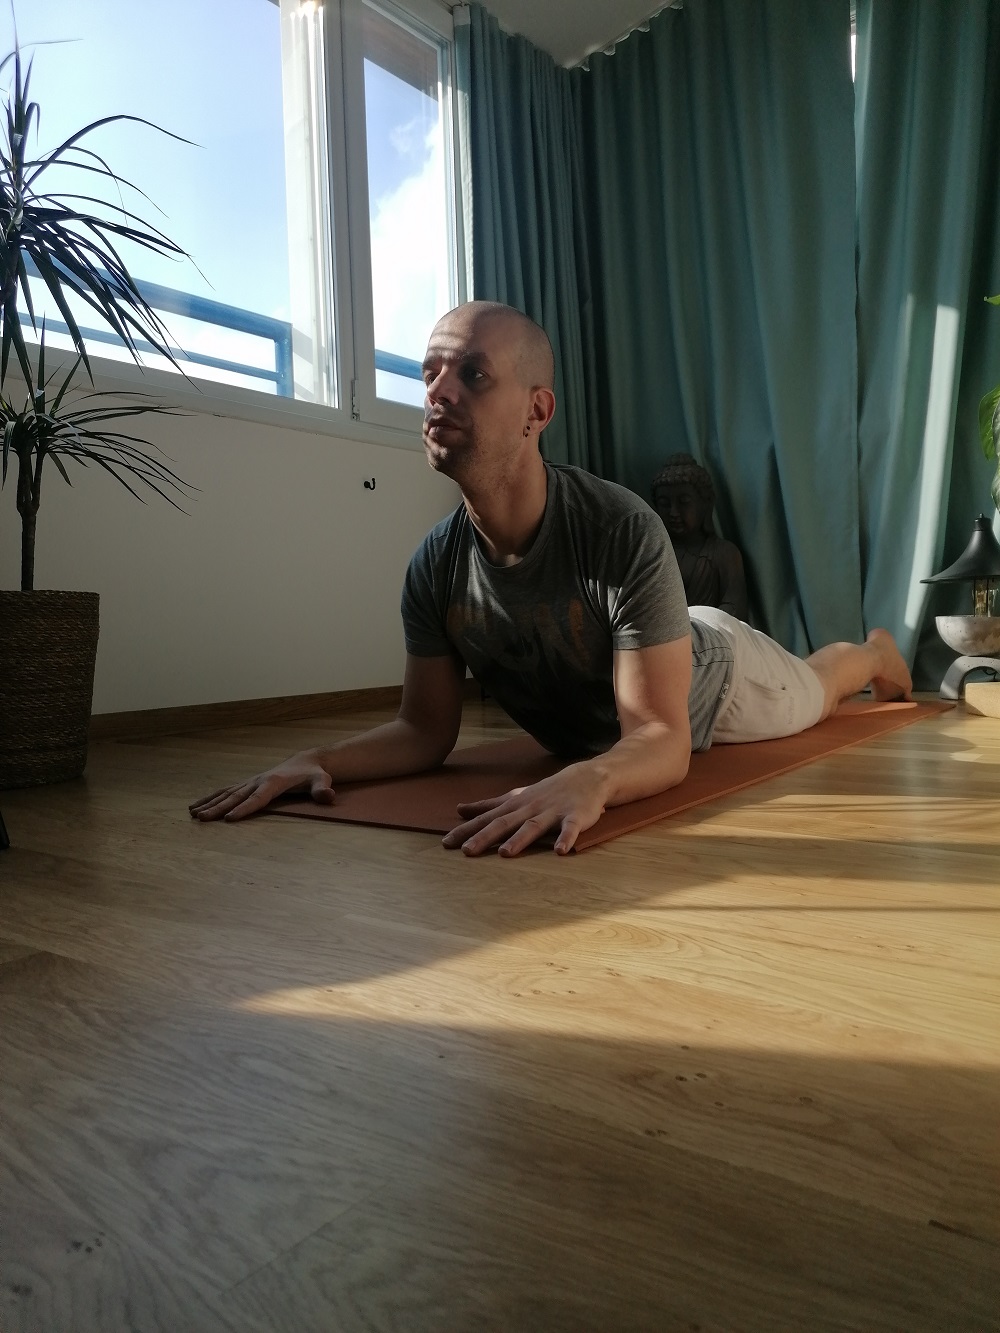
Spinx pose
Day Four: Downward Dog
To do the down dog pose, start in a standing position. Bend at the waist, placing your palms flat on the ground in front of you. Slowly walk your hands forward until your arms are straight and you’re in an inverted “V” position. Keep your feet hip-width apart and your palms shoulder-width apart. Let your head hang down and focus on lengthening your spine. Again, stay in this position for three minutes.
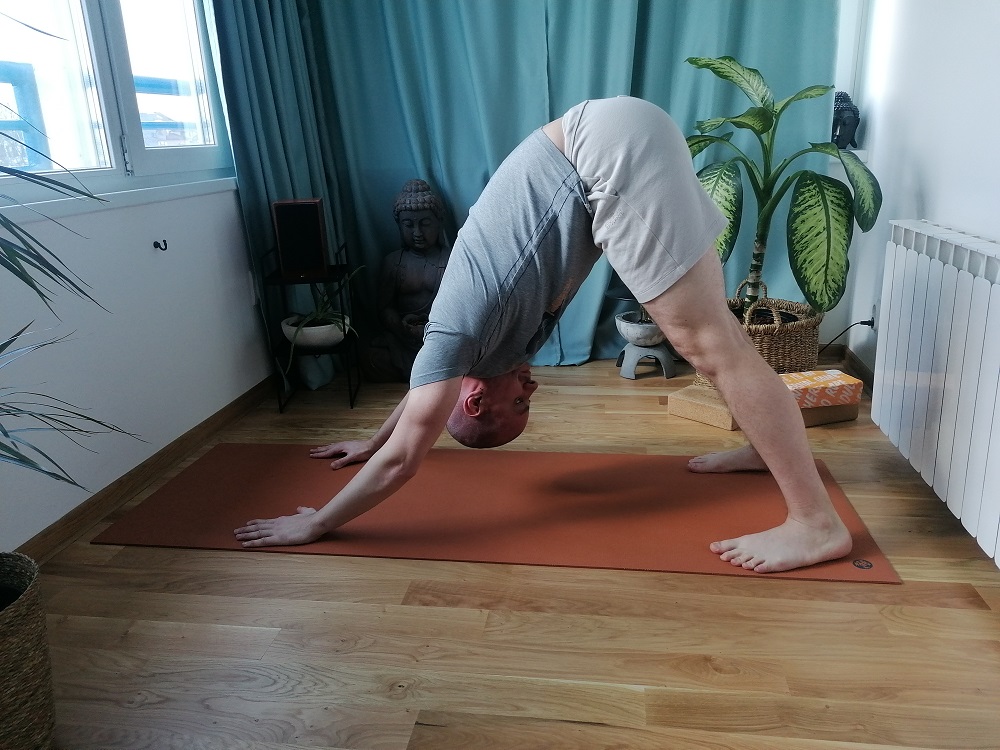
Downward dog
Day Five: Standing Forward Fold (uttanasana)
With your feet hip-width apart and your arms by your sides, begin in the mountain stance. As you inhale, reach up toward the sky. As you exhale, fold forward from your hips, keeping your back straight. Place your palms flat on the ground or grab hold of your ankles. Let your head hang down, and you should feel a stretch in your hamstrings. Hold the pose for three minutes, then bend your knees and come back up to standing.
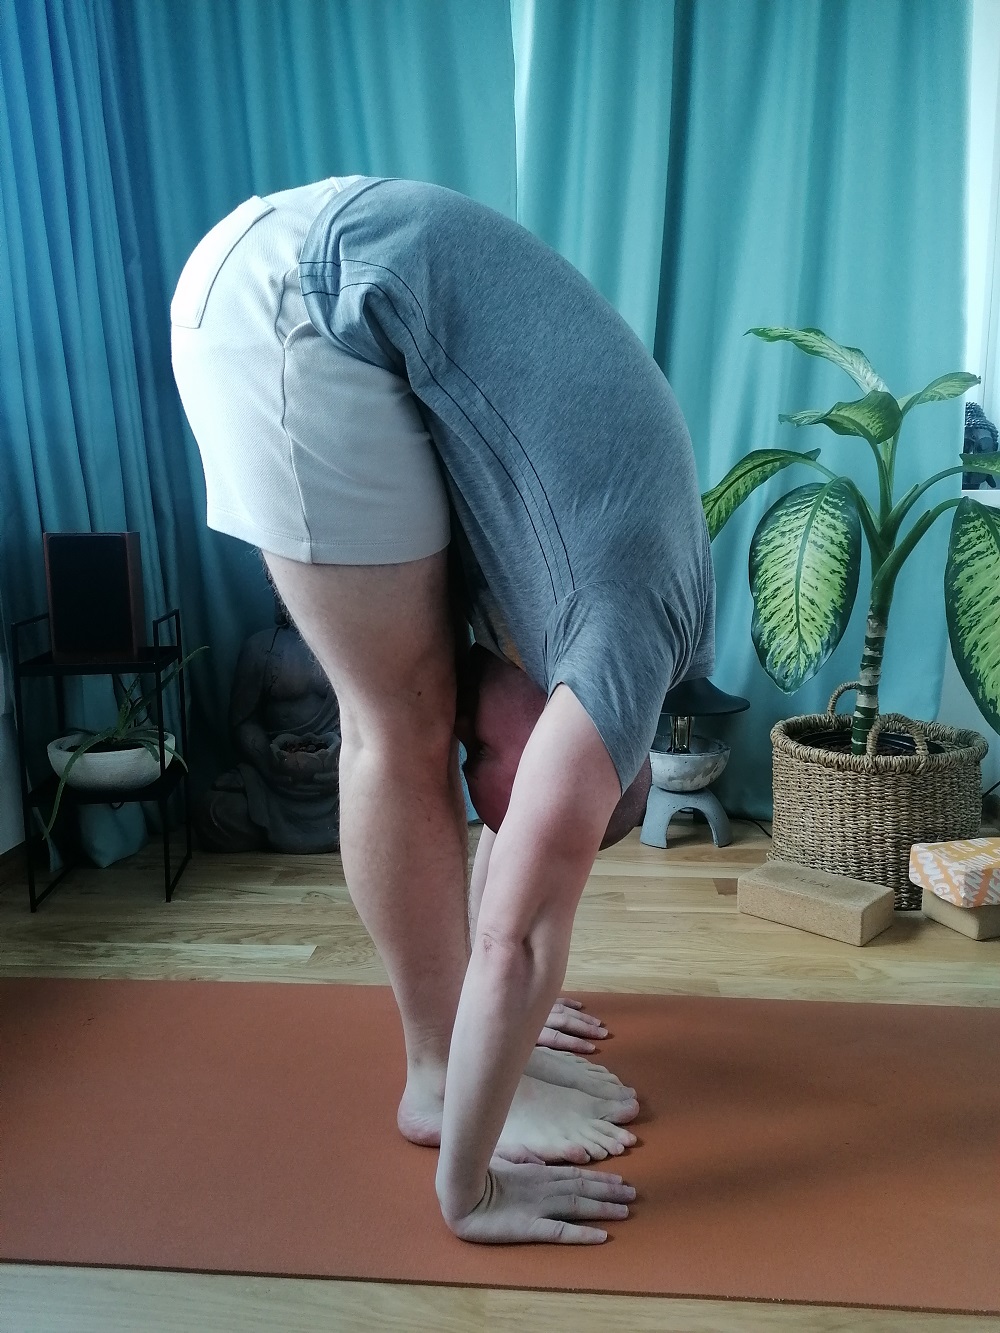
Standing forward fold
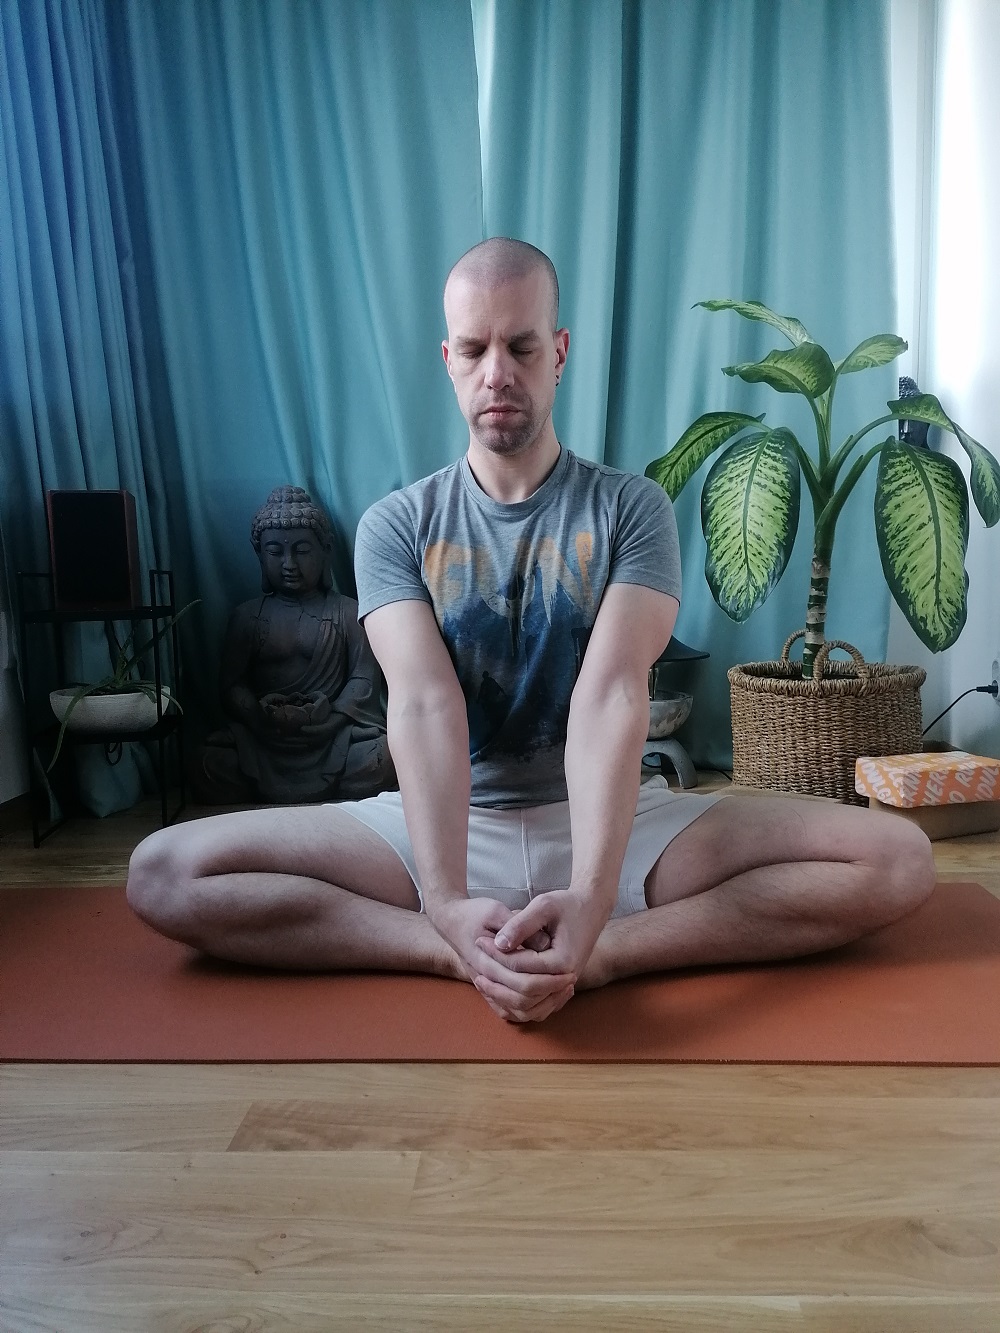
Day Six: Bound Angle Pose (baddha konasana)
Sit on the ground with your legs extended in front of you and your palms flat on the ground beside you. Bring your feet together gradually and, if you can, grab hold of your ankles. If you can’t reach your ankles, that’s okay! Just hold on to your feet for three minutes and maintain your posture. You should feel a stretch in your inner thighs.
Day Seven: Saddle Pose (reclined Hero Pose)
To do the saddle pose, begin with sitting on your heels or between your heels, whatever’s comfortable. Now, slowly lean back on your hands, while keeping your arms straight. As you take your hands back, raise your lower back, maintain your breathing, and deepen the stretch with every breath. You can go all the way or stay on your hands and elbows. Either way, stay in the pose for three minutes, release the stretch, and use your arms to press yourself up.
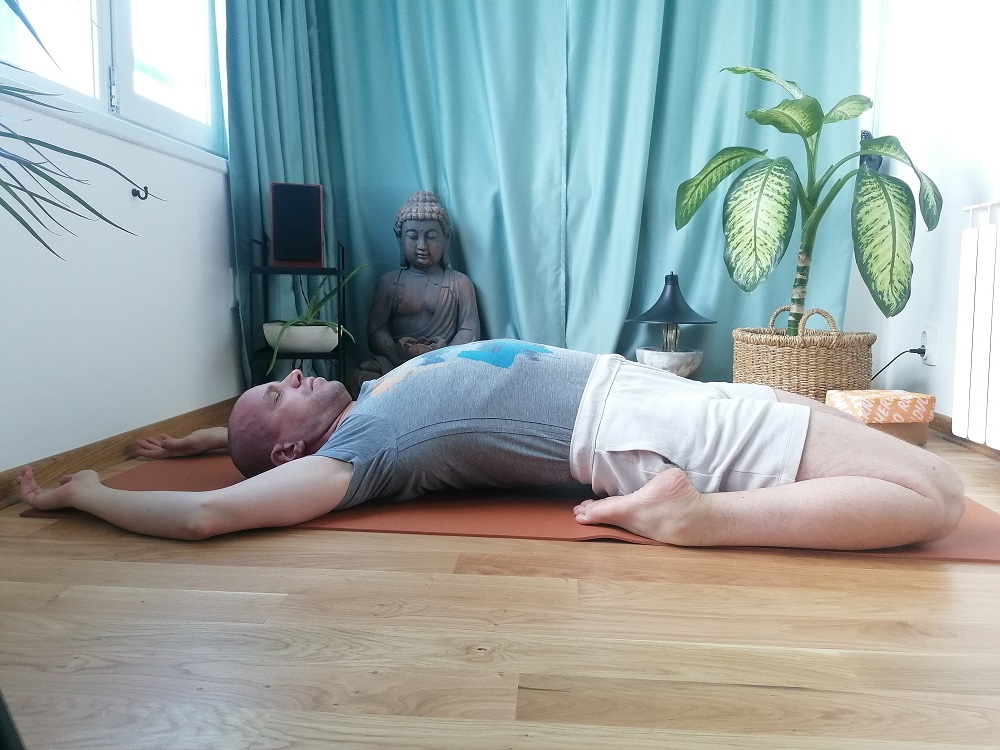
Saddle pose
Tips to Help You Through the Challenge
The stretching challenge is designed to help improve your flexibility and mobility, but there are a few things you can do to make the most of it. These are:
- Drink plenty of water! Staying hydrated will help your muscles stay loose.
- Don’t forget to warm up before each stretch. A few minutes of light cardio will do the trick.
- When stretching, always remember to breathe slowly and deeply. Don’t hold your breath!
- Don’t push yourself too hard. Ease into each stretch and only go as far as you’re comfortable.
Conclusion
So, this is your 7-day stretching challenge, and these are the seven stretches you should have in your routine. These poses are aligned to improve your flexibility and mobility and target specific areas. You’ll notice a change in your body and how you feel as the days go by and you include new postures. Stay dedicated to the challenge; by the end, you’ll have increased your range of motion, improved your posture, and maybe even discovered a new favorite stretch! Good luck!