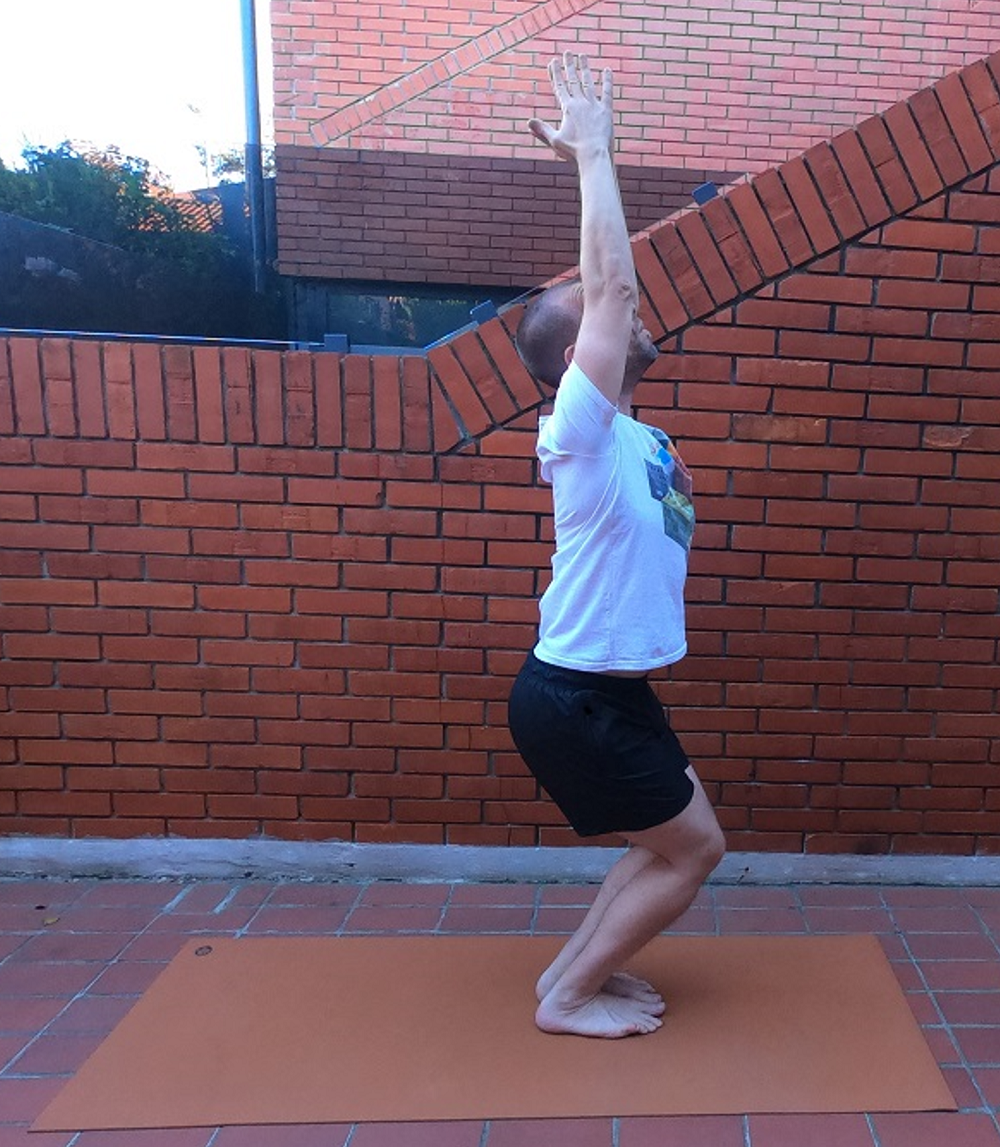
“The literal translation of this pose from Sanskrit is a fierce or powerful pose. Another name for this pose is the chair pose, given the fact that the practitioner is in a semi-squat.”
A Deeper Insight
The pose itself belongs to the group of standing balances. Of course, it is a balance that is very stable, given that the practitioner stands firmly on the yoga mat with both feet.
The pose itself, or rather the pose with a small modification, I personally use in practice with new practitioners. This modification means that your arms are stretched out in front of you at shoulder height with your palms facing down. The position of the legs remains the same; it does not change. So you are in the position of a skier when it comes to the position of the legs.
I practice this modification in the first class of getting to know a new practitioner. With this pose, I gain insight but also the practitioner himself, which part of the body presents the greatest challenge. Of course, that’s just one of the guidelines I use when starting out with new practitioners. Feel free to use this change to the chair pose in your own practice or when you’re working with other people.
Stay in this pose for up to five minutes. Of course, if you cannot stay that long, you are free to leave. It all depends on the person. Someone will be challenged by an outstretched arm, while others will be challenged by the lower back, shoulders, or neck. Some will get out of poses because of the challenge they feel in their legs.
This will change over time. When the body opens up and strengthens, staying in the same pose will no longer be such a challenge.
Variations and Practice
The chair pose is used in hatha yoga, but it is mostly used in the more powerful yoga systems, like vinyasa and ashtanga yoga.
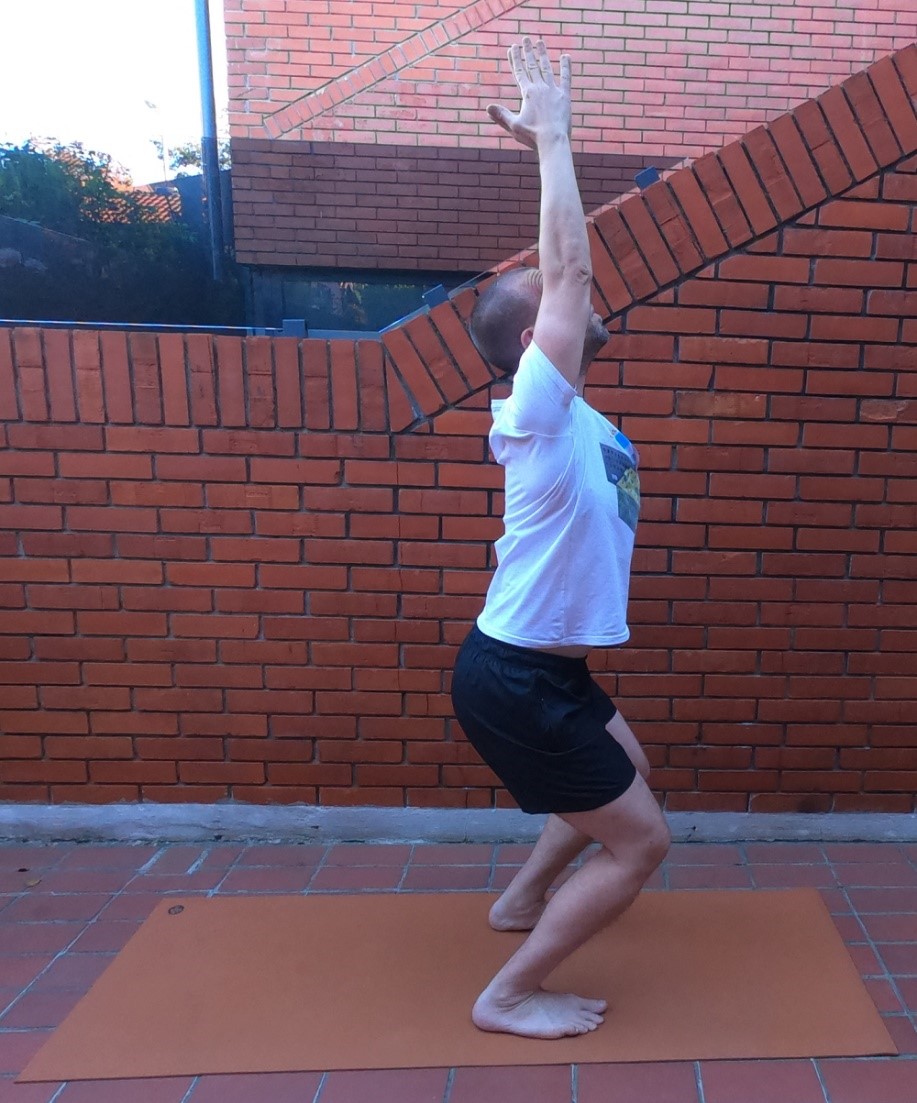
When it comes to entering the pose itself, the most natural entry occurs from the mountain pose. With an exhalation, the legs are bent into a semi-squat. Slowly move your hips back as if you want to sit in a chair. In this way, the entire spinal column will be fully stretched. During this entry, be careful not to bring your knees too far forward. It is important that you can see the toes with your eyes. If you do not notice them, it is an indication that you have gone too far with your knees. It is also a sign that you should move them back a little so as not to injure your knees. Try to keep your leg muscles active the entire time you are in the pose.
As you inhale, stretch your arms up so that your ears are level with your upper arms. Stretch your fingers as well. Try to relax your shoulders as much as possible while you are in this pose, no matter how long it takes.
There is a perennial dilemma among the yoga community regarding this pose, or more precisely, the position of the feet during it. Some believe that, according to ancient writings, the feet should be hip-width apart. In this way, the stability of the practitioner is much greater. He can fully realize the involvement of every part of the foot (toes, soles, and heels). That feeling of stability is thus easily directed, in this case, to the upper part of the legs, to the ankles, calves, thighs, and saddle halves.
Others believe that the full pose implies that the feet are together. In this way, it is considered that a better sense of balance is developed. Due to the joined feet, the illusion is created that the support is only on one foot.
I always tell people who are trying this pose for the first time to practice it with their feet spread apart. In this pose, one can have the palms together or keep them shoulder width apart.
The gaze can be directed forward to the tip of the nose or upward to the tips of the thumbs of the joined hands.
The first variation of this pose affects the improvement of balance in the practitioner. It involves lifting your heels away from the yoga mat as much as you can. You can also practice this variation with your feet apart and together. If it’s a challenge for you to lift both heels and stay in the pose, feel free to lift just one heel to begin with. In this variation, try to stay for five breaths to begin with. There is no need to force anything, especially if you are practicing this pose for the first time.
Another variation is the so-called twisted chair. In this variation, the spinal column twists to the right or the left side. The variation itself implies that our palms are joined. If twisting to the right occurs, the left elbow rests on the outside of the right knee. The right elbow is raised up and in line with the left elbow.
The third variation is essentially a twisting chair variation. If you have twisted to the right, try to raise your left foot. The full pose means that your left heel touches your left buttock. Of course, if you can’t lift your foot at all, you can try a variation with the toes of the left foot on the yoga mat with only the heel of the left foot raised.
Benefits
First of all, this is an excellent pose for all skiers and boarders. The pose itself strengthens your feet, ankles, calves, knees, and thighs. It is certainly good for strengthening the muscles of the lower back and abdomen. Positioning the upper body in this pose opens the chest, shoulder blades, and shoulders and strengthens the arms.
The longer you stay in the chair pose, the greater your endurance will be, so you will be able to stay longer in other poses that are physically demanding.
Regardless of whether you entered the pose with your feet spread or together, the pose itself has an effect on improving your sense of balance.
Utkatasana improves the flow of blood throughout the body and makes it easier to breathe.
Conclusion
I can confirm from experience that the chair pose certainly does not represent one of the basic yoga poses. So, you won’t come across this pose right at the beginning of your yoga practice, especially if you’re doing hatha yoga.
In addition to all the benefits that I mentioned a little while ago, I must not forget that the pose itself greatly affects the improvement of focus and self-confidence.
And yes, since this is a pose that falls into the group of standing balances but also improves endurance, always use mula and uddiyana bandha. By using these two bandhas, you will be able to stay in the pose longer.

